XNX Transmitter Installation Manual 2
In this article, we’ll cover the settings for the XNX transmitter’s sensor data, alarms, range, inhibit menu, and mA level. Once you’ve finished reading this manual, you’ll be ready to begin installing your new wireless device! Here are some useful tips
Table of Contents
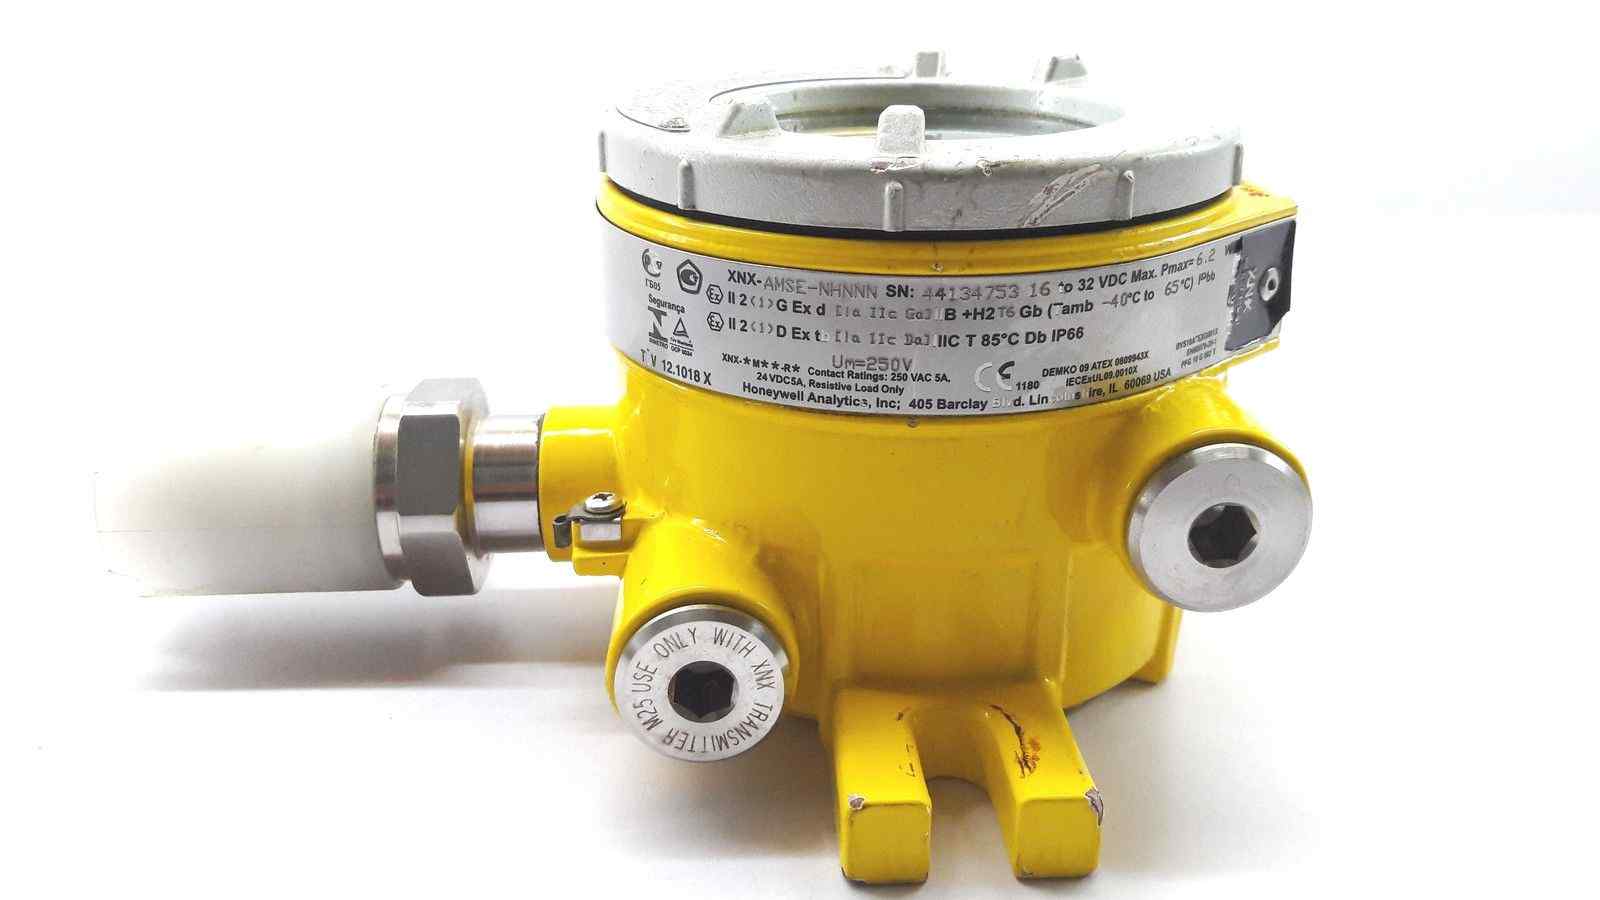
XNX transmitter sensor data
XNX Universal Transmitter has eight registers and six data. It also has XCD gas sensor, 1200-day EOL, TB-3 Modbus 3-10 S, and LSB repeat of Modbus address. Honeywell Analytics also provides other data. It can be configured to provide data for both analog and digital signals. Its data can be read from any computer, and can be stored in the transmitter’s data file.
XNX transmitter sensor data can be displayed on the device itself. The device is equipped with a display showing the Configuration Summary information and alarm settings. It also has a test menu where you can exercise the analog output, simulate an alarm, and test the transmitter. XNX transmitters have calibration menus for zero calibration, span calibration, and bump calibration. You can also see the optical signal strength on the transmitter’s display.
XNX transmitter range & alarms
The XNX transmitter features a general status screen with a list of available values. To change the value, you must swipe a magnetic switch over it. Once you have changed the value, you must accept the prompts of the system. The XNX transmitter can be used for both indoor and outdoor installations. It can be configured to operate in the range specified on the product data sheet. Range & alarms is one of the main features that you can customize according to your requirements.
XNX Universal Transmitter supports three numeric formats, includes ranges for sensor and latching alarms. It also features an event list that shows the status of sensors. You can set these alarms for different gases. In addition to the general alarms, you can also set up your XNX transmitter to include bump testing. Honeywell Analytics recommends bump testing to ensure that the sensors are properly functioning. The transmitter is reusable if you decide to return it.
XNX transmitter inhibit menu
The XNX transmitter’s Inhibit Menu and Inhibit Status Screen enable you to control the output of the system. Once the Inhibit mode has been entered, the transmitter will show an icon indicating Force mA Output. Exiting the Test Menu will return the output level to normal operation. Once the Inhibit menu is entered, select mA Select to place the transmitter alarms in inhibit mode. To cancel the choice, press the “cancel” button.
If you have a new transmitter, make sure you have the proper calibration for it. If your transmitter is set to be calibrated, you should follow the calibration procedure that comes with it. You can check this by following the procedures in EN 60079-29-2. The manual also contains helpful tips for setting up your transmitter. XNX transmitter inhibit menu installation manual 2
XNX transmitter mA level settings
The mA level settings of an XNX transmitter are configured in the XNX transmitter user manual. The manual contains warnings and cautions, as well as appropriate standards. If you do not understand a section or feature in the manual, consult the XNX Technical Manual for more information. Here are a few tips:
First, know that a Fieldbus transmitter does not have any analog connections. Therefore, the transmitter’s signal must be digitally connected. The XNX transmitter can communicate with most other devices on the Foundation Fieldbus network. To make the XNX transmitter work, you must configure it first. You can do this by accessing the device’s configuration menu on the Honeywell XNX web site.